DIY Soil Cement Pavers Tutorial
Jacki Cammidge is a participant in the Amazon Services LLC Associates Program, an affiliate advertising program designed to provide a means for sites to earn advertising fees by advertising and linking to amazon.com. Other links on this site may lead to other affiliates that I'm involved with, at no extra cost to you.
Here’s an interesting xeric garden project; making your own patio blocks from soil cement.
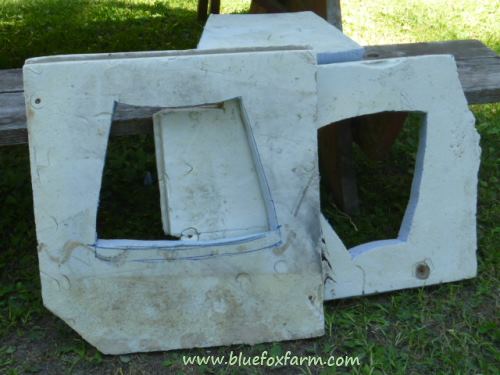
Diy patio blocks using a Styrofoam blueboard mold is fairly easy – no need for a concrete mixer or expensive molds. The blueboard cuts easily with a serrated knife and you can mix up a batch of soil cement in a few minutes in a wheelbarrow.
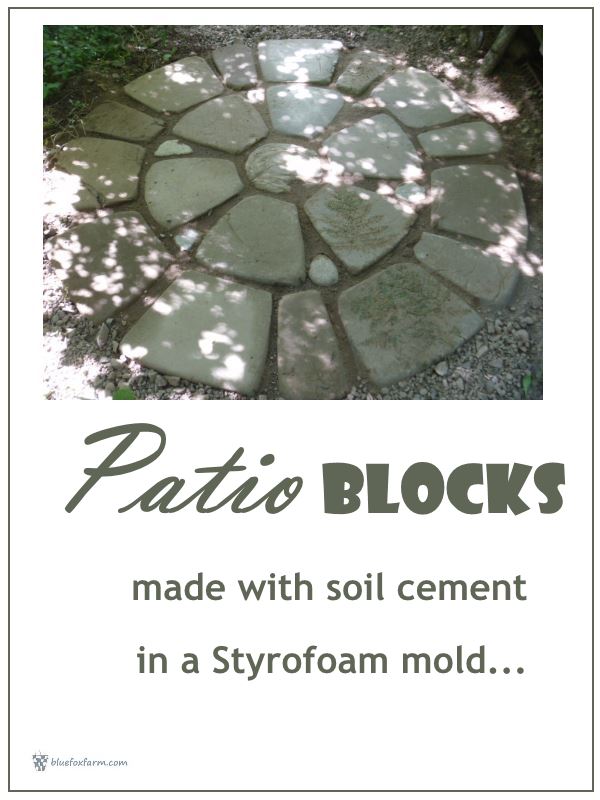
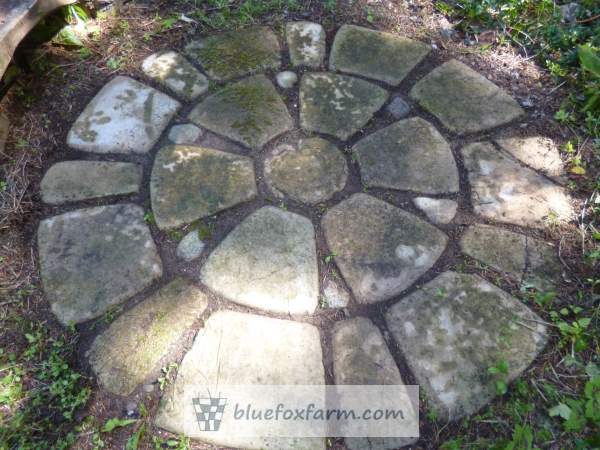
Designing the mold for the cement patio blocks was the most intensive – using a design from a concrete medallion that was made from a kit of small patio bricks, I re-imagined the size into something that would be more user friendly.
The patio blocks end up being around 35-40cm (just over 1') long, with varying widths so they fit together in the finished medallion. The round circle block in the center is made from a plastic bag inside a bucket so you can pull it out once it’s set.
The soil cement recipe is about four parts sieved sandy soil: 2 parts Mortar Mix: 1 part Portland cement powder.
You’ll have to experiment a bit to find the mix that works the best with your native soil.
It shouldn’t have sticks or leaves in it as this will make the finished cement blocks crumble with use. A similar mix would work for hypertufa paving stones which technically always have some peat moss in them. These might not last as long, as hypertufa tends to crumble over time.
Using soil cement in gardening is not a one size fits all proposition: each type of soil is unique the area, and the success of your finished soil cement patio or other project will depend on many factors, from the sand/clay proportion to the heat and humidity of the time of year.
I recommend doing this type of diy patio block project when it’s warm out, and if you follow the directions for curing the blocks you’ll have no issues with the way they perform. Freezing temperatures, as well as being uncomfortable to work in, won't allow the concrete to cure properly - the finished product may just crumble during use.
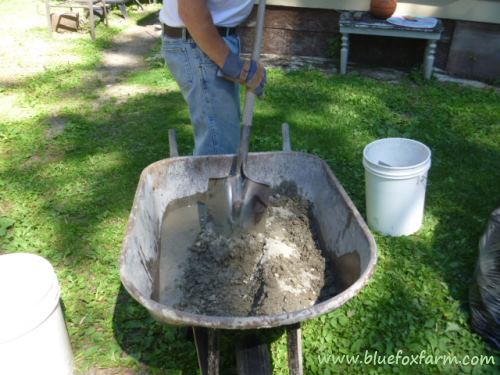
Mixing the cement is easiest in a wheelbarrow with a shovel, but if you like you can mix all the dry ingredients with surgical gloves (always wear gloves as the cement powder is caustic) and if it’s dusty, wear a mask.
Add the water a bit at a time, mixing well after each addition. It’s easy to put too much in.
Once the mixture is totally homogenized and there is no dry mix left in the corners of the wheelbarrow, pour it by shovelfuls into your prepared molds. With the molds on a flat surface, line them with a piece of plastic film, or you’ll never remove them from the mold.
Click on any picture to open the gallery for larger images;
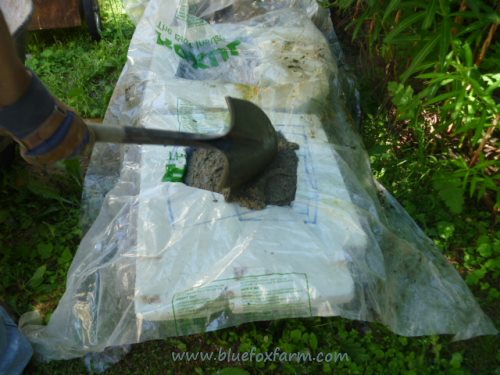
Allow the paving stones to dry for a couple of hours, then cover them with more plastic film to prevent them drying too fast.
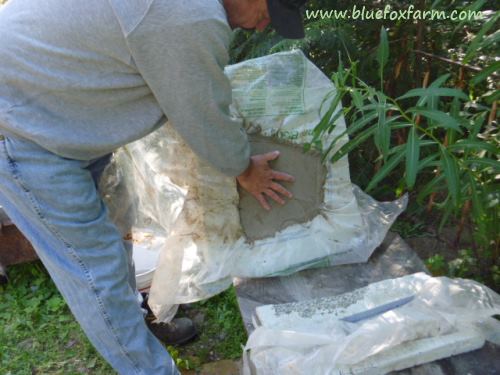
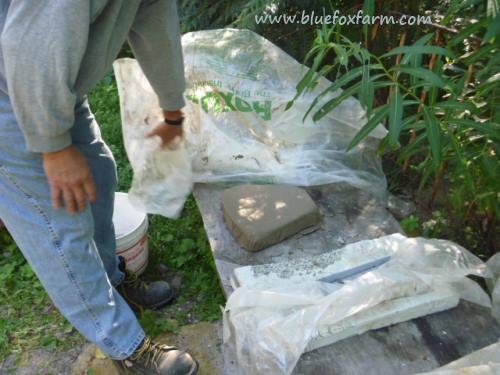
Overnight is usually enough time for them to completely set up; remove the mold carefully in 24 hours.Handle with care as at this stage, the patio blocks are still easily damaged.You can sprinkle them with water for a day or so to complete the curing process.
How to Lay Paving Stones:
The most important thing to remember when installing paving stones is drainage.
The area itself must not hold any water, so sandy or gravelly soil as a base is crucial.The area must be level, and cleared of stones and debris.You can rake out the area and remove larger rocks, and then add a layer of sieved sand or small gravel for the blocks to set on.
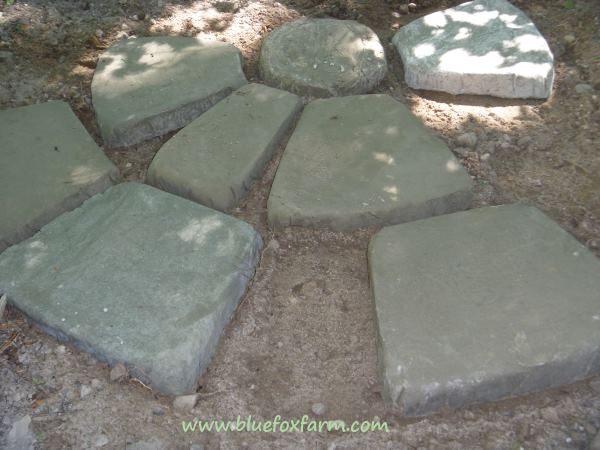
Start laying paving stones in place until you are satisfied with the way they look.
Move the blocks around until they are level, and set into the sand or gravel.
Tamp them down by stepping on them carefully, and then fill in between the blocks with sieved sand.
Sweep this into the cracks, and sprinkle with water to settle them.You might need to add more sand as it will settle in time.
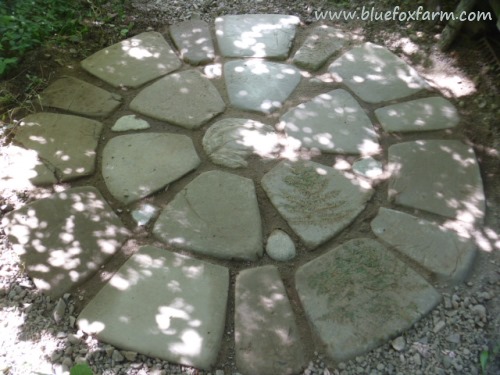
Add a couple of rustic garden chairs and a little table, and you have a lovely little focal point to sit to drink coffee or read a magazine.
Original article and pictures take www.bluefoxfarm.com site
Комментариев нет:
Отправить комментарий